
Resume as Code
Crafting a Seamless Resume Workflow Using Overleaf, Git, and GitHub Actions
Creating and maintaining an elegant, professional resume doesn't have to be a cumbersome process. With the power of Overleaf, Git, and GitHub Actions, you can achieve a streamlined, automated workflow. Here's a detailed guide on how you can manage your resume project, making use of my personal project Resume as an example.
Advantages of Resume as code vs Traditional Resume
Version Control
Traditional Resumes: Often edited directly in word processors, leading to multiple, unsynchronized copies and version confusion. Resume as Code: Utilizes Git for version control, providing a clear history of changes and easy access to previous versions.
Automation
Traditional Resumes: Updates and changes need to be manually formatted and integrated. Resume as Code: Leverages GitHub Actions to automate the build and deployment process, ensuring the latest version is always available online and formatted correctly.
Collaboration
Traditional Resumes: Collaboration is cumbersome, usually requiring sending files back and forth. Resume as Code: Enables seamless collaboration through pull requests, where feedback and changes can be discussed and tracked directly within the repository.
Consistency
Traditional Resumes: Maintaining consistent formatting and style can be challenging across different versions. Resume as Code: Ensures consistent formatting through LaTeX, a typesetting system that excels at creating well-formatted documents.
Accessibility
Traditional Resumes: Typically stored on a local drive or cloud storage, requiring manual sharing. Resume as Code: Deployed via GitHub Pages, making it easily accessible to anyone with the link.
Integration
Traditional Resumes: Separate from the rest of your digital footprint. Resume as Code: Integrated with your GitHub profile, showcasing your technical skills and projects in a cohesive way.
Transparency and Trust
Traditional Resumes: Information is static and can be easily manipulated. Resume as Code: Changes and updates are transparent, fostering trust with potential employers who can view the evolution of your professional journey.
Learning Opportunity
Traditional Resumes: Limited in terms of skill demonstration. Resume as Code: Demonstrates proficiency in version control, continuous integration, and web technologies.
Scalability
Traditional Resumes: Limited to static formats. Resume as Code: Can be easily extended to include new sections, styles, and formats without starting from scratch.
Adopting a "Resume as Code" approach not only modernizes the way you manage and present your professional profile but also integrates it into your broader digital skillset, making you stand out in the job market.
How I build mine
Step 1: Building and Compiling with Overleaf
Overleaf is a powerful LaTeX editor that allows you to compile LaTeX documents right in your browser. Here’s how you can get started:
- Choose a Template: Start by selecting a template that suits your needs. Visit Overleaf Templates and pick a CV template.
- Create a New Project: Use the selected template to create a new project on Overleaf. Modify the content to reflect your own details and preferences.
- Compile the Document: Overleaf provides a real-time preview of your document as you edit. Simply click the "Recompile" button to see changes instantly.
Step 2: Version Control with Git
Once your document is ready, it’s important to manage versions effectively. This is where Git comes in:
- Initialize a Git Repository: If you haven’t already, initialize a Git repository in your project directory:bash
- Add Your Files: Add your LaTeX files to the repository:bash
- Commit Your Changes: Commit the changes with an appropriate message:bash
- Push to GitHub: Create a new repository on GitHub, then push your local repository to GitHub:bash
git commit -m "Initial commit of resume project"
git add .
git init
git remote add origin https://github.com/<yourusername>/Resume.git
git push -u origin master
Step 3: Automating Builds with GitHub Actions
Automate the building and generation of your resume using GitHub Actions:
Set Up Your Workflow: Create a .github/workflows/build.yml file in your repository with the following content:yaml
name: Build Resume

on:
  push:
    branches: [ "master" ]
  pull_request:
    branches: [ "master" ]
  workflow_dispatch:

jobs:
  build:
    runs-on: ubuntu-latest
    steps:
      - name: Checkout repository
        uses: actions/checkout@v2

      - name: LaTeX build
        uses: dante-ev/latex-action@latest
        with:
          root_file: resume.tex

      - name: Upload a Build artifact
        uses: actions/upload-artifact@v2
        with:
          name: resume-pdf
          path: resume.pdf
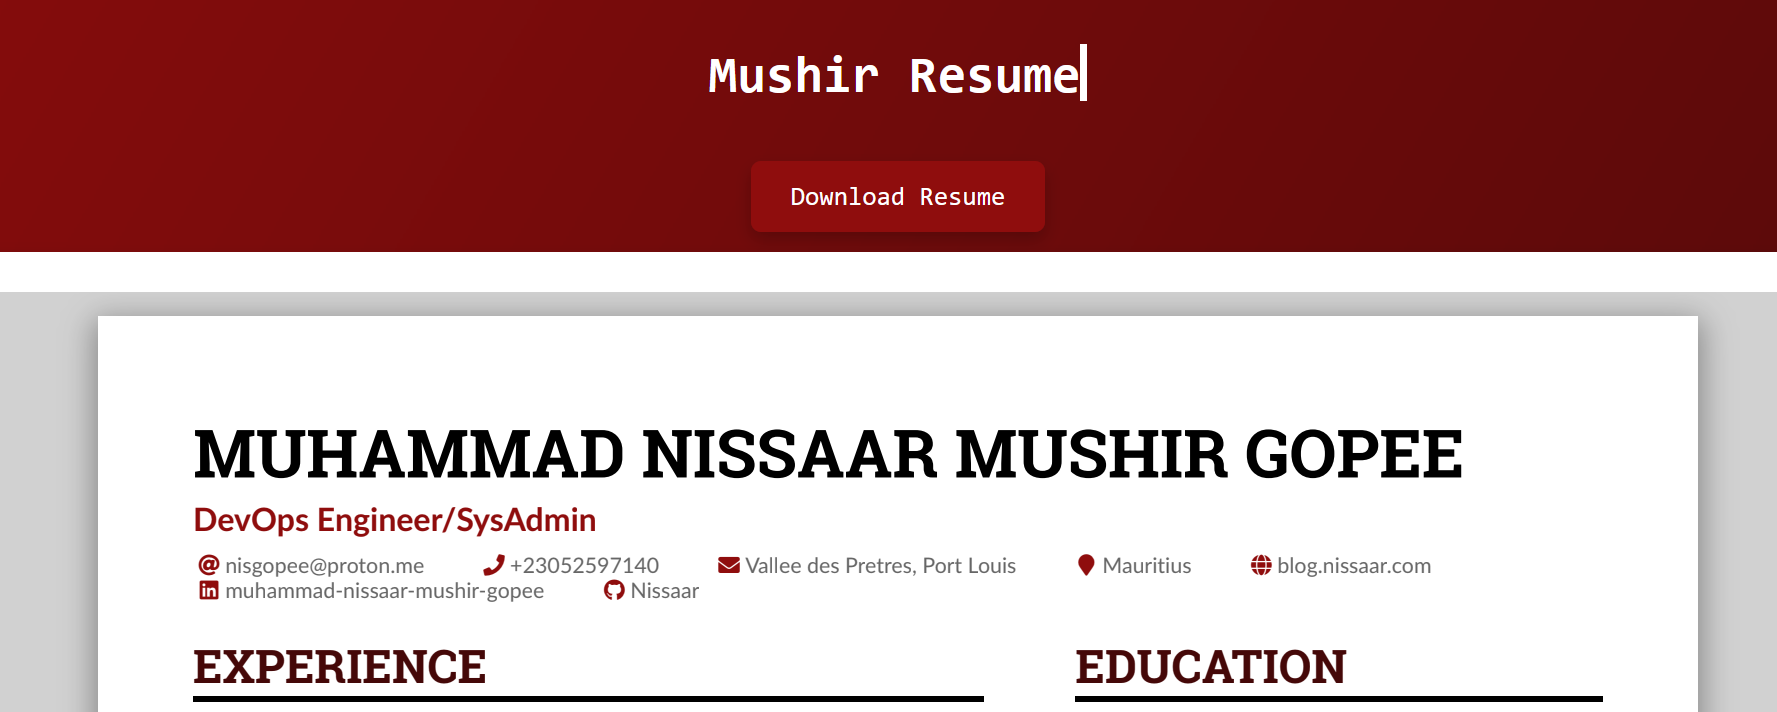
Step 4: Simulating a Browser Session
To ensure your HTML page renders correctly, you can simulate a browser session and take a screenshot:
We modified the build.yaml to check the display of the html page:
name: Build Resume on Push

on:
  push:
    branches: [ "master" ]
  pull_request:
    branches: [ "master" ]

  # Allows you to run this workflow manually from the Actions tab
  workflow_dispatch:

jobs:
  build:
    runs-on: ubuntu-latest
    steps:
      - name: Checkout repository
        uses: actions/checkout@v4

      - name: LaTeX build
        uses: dante-ev/latex-action@latest
        with:
          root_file: resume.tex

      - name: Upload a Build artifact
        uses: actions/upload-artifact@v4
        with:
          name: resume.pdf
          path: resume.pdf

      - name: Start a web server
        run: |
          sudo npm install -g http-server
          sudo nohup http-server -p 8080 &

      - name: Modify HTML to use the generated PDF
        run: |
          sed -i 's|https://resume.mgopee.tech/resume.pdf|resume.pdf|' index.html

      - name: Screenshot
        uses: "swinton/[email protected]"
        with:
          source: http://localhost:8080/index.html
          destination: screenshot.png
          full-page: true
Step 5: Deploying to GitHub Pages
Finally, deploy your project to GitHub Pages for easy access:
Create a Deploy Workflow: Add a .github/workflows/deploy.yml file with:yaml
name: Release Resume

on:
  release:
    types: [ published ]

  # Allows you to run this workflow manually from the Actions tab
  workflow_dispatch:

permissions:
  contents: write
  id-token: write
  pages: write

jobs:
  build:
    runs-on: ubuntu-latest
    steps:
      - name: Checkout repository
        uses: actions/checkout@v4

      - name: LaTeX build
        uses: dante-ev/latex-action@latest
        with:
          root_file: resume.tex

      - name: Upload resume to the GitHub release that triggered the workflow
        run: |
          gh release upload ${{ github.event.release.tag_name }} resume.pdf
          gh release upload ${{ github.event.release.tag_name }} resume.tex
        env:
          GH_TOKEN: ${{ github.token }}

      - name: Move resume.pdf to a different folder
        run: |
          mkdir ../gh-pages
          mv resume.pdf ../gh-pages
          mv index.html ../gh-pages

      - name: Deploy 🚀
        uses: JamesIves/github-pages-deploy-action@v4
        with:
          folder: ../gh-pages
The deploy is triggered when a new release is created on Github.
Conclusion
By combining Overleaf, Git, and GitHub Actions, you can create a seamless, automated workflow for maintaining and deploying your resume. This approach ensures your resume is always up-to-date and accessible, showcasing the power of modern development tools in personal project management.
Happy coding and best of luck with your resume project! 🎉