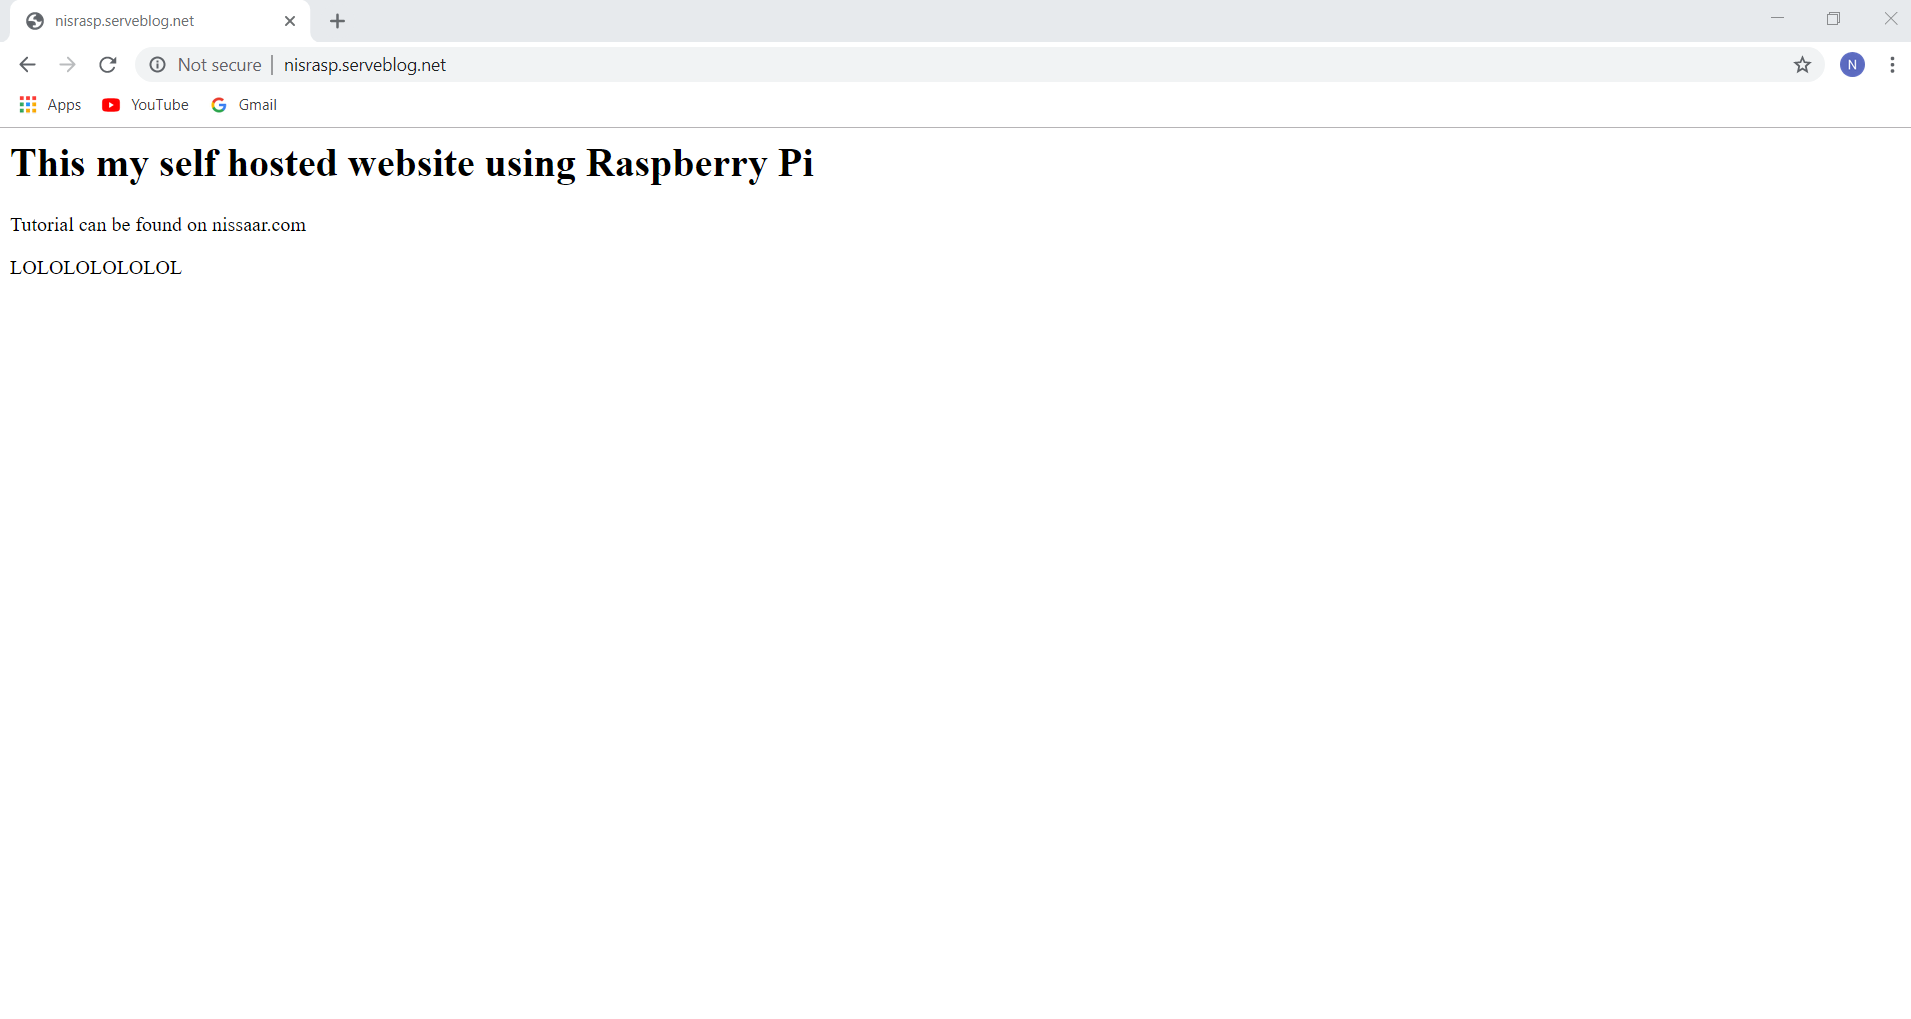
Hosting website using Raspberry Pi as Server

| Replace | By |
|---|---|
| nisrasp.serveblog.net | Your DNS |
| 100.100.100.100 | Your Public IP |
Step 1: Install LAMP
sudo apt install apache2 mysql-server php libapache2-mod-php7.0 -yStep 2: Get a free Domain
Usually domain names cost money to register, but you can get a free one on noip.com. You should signup first.

Then you can type whatever name you want in the Hostname box and then choose your domain from the Domain dropdown menu.
Also, make sure the Record Type is A
Then click on Add Hostname.
From the Dashboard you should see Active. Click on it and you'll see the domain name with the url it is assigned.

Make sure the URL is the same as your public IP address (this can be found by googling whatsmyip, if it not click on modify and make modifications in the IPv4 Address box.
Step 3: Configure DNS
To use your own domain on your own web server you'll have to configure Apache to accept web request for your domain.
Install dns utilities:
sudo apt-get install dnsutilsYour websites DNS should have an "A" record, to confirm type:
dig nisrasp.serveblog.netSomething like this should appear in the answer section:
;; ANSWER SECTION:
nisrasp.serveblog.net.	60	IN	A	100.100.100.100
It means that nisrasp.serveblog.net would be directed to the server with IP address 100.100.100.100
Step 4: Configure Apache
Now, we will make Apache accept web request from nisrasp.serveblog.net and from what directory to serve content when receiving requests.
Create a directory for nisrasp.serveblog.net:
sudo mkdir -p /var/www/html/nisrasp.serveblog.netCreate an example index.html file:
sudo nano /var/www/html/nisrasp.serveblog.net/index.htmlPaste the following
<html>
<head><title>Self-Hosting on Raspberry Pi</title></head>
<body>
<p>This is my self-hosting website using Raspberry Pi</p>
</body>
</html>
Finally, give some filesystem permission:
sudo chmod -R 755 /var/www/html/nisrasp.serveblog.netSet up a Virtual Host file for Apache for our domain
sudo cp /etc/apache2/sites-available/000-default.conf /etc/apache2/sites-available/nisrasp.serveblog.net.confEdit the file:
sudo nano /etc/apache2/sites-available/nisrasp.serveblog.net.confto look like this:
<VirtualHost *:80>
ServerAdmin [email protected]
ServerName nisrasp.serveblog.net
ServerAlias www.nisrasp.serveblog.net
DocumentRoot /var/www/html/nisrasp.serveblog.net
ErrorLog ${APACHE_LOG_DIR}/error.log	# Change ${APACHE_LOG_DIR} to you appropiate directory
CustomLog ${APACHE_LOG_DIR}/access.log combined	# Change ${APACHE_LOG_DIR} to you appropiate directory
</VirtualHost>
Enable the website:
sudo a2ensite nisrasp.serveblog.net.confReload Apache:
sudo service apache2 reloadNow edit the /etc/hosts file:
sudo nano /etc/hostsAdd a line with your IP address and domain name:
100.100.100.100 nisrasp.serveblog.netStep 5: Configure Router
I'll explain this step in general as each router has its own kind performing the port forwarding.
Well you should create a forward rule
(format: "name" - TCP/UDP - start port - end port - 192.168.x.x (replace with that of your server))
For HTTP (use the above as a guide to understand):
"HTTP" - TCP - 80 - 80 - 192.168.x.xIf you can't connect, consult your router's instruction manual or Google search it.
